FAQs

[FAQ] Topic Radio Filter
[FAQ] Category Radio Filter

There are different types of humidifiers:

  • GeneralAire® Steam Humidifiers: The GeneralAire® Steam Humidifier is an electrode humidifier. Steam humidification is produced by passing electric current through water inside a steam cylinder between highly-conductive metal electrodes. Steam output is directly proportional to the conductivity of the water between clean electrodes.
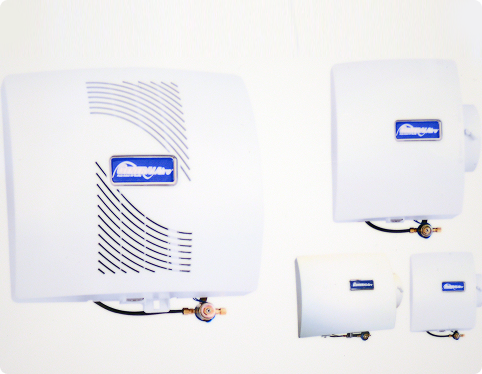
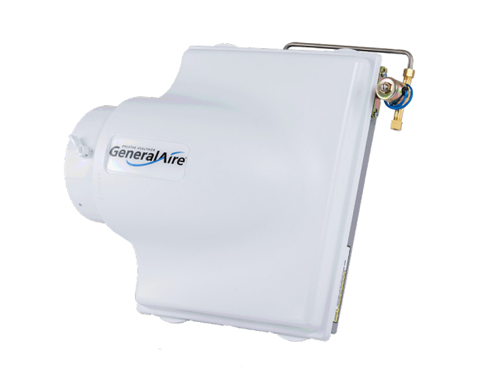
  • GeneralAire® Evaporative Humidifiers:  Water is distributed through a water distribution trough resting on top of a Vapor Pad® inside the humidifier. The Vapor Pad® then becomes thoroughly saturated with water.  As heated air from the furnace passes through the water-soaked Vapor Pad® the water evaporates and creates humidity. The humidity is moved by the furnace blower motor through the duct system and is distributed to the living quarters of the home.
  • GeneralAire® Fan-Assist Humidifiers: Similar to evaporative humidifiers, but with a fan inside that pulls heated air from the furnace through the Vapor Pad® to enhance the evaporative process.

For many reasons:  Since the air in your home is always trying to reach its saturation point, it will absorb water wherever it can; from the bodies of you and your children, your pets, your furniture and even your house plants. As a result:

  • Dry skin, throat and nasal passages leave you more susceptible to physical discomfort, colds, flu and even infection.
  • Dry air causes dry, itchy skin.
  • Dry air causes cracks in expensive woodwork of floors, door and window trim, artwork, musical instruments, and furnishings.
  • Annoying (and sometimes painful) static electricity (caused by dry air) can damage computers, VCR’s and other electronic equipment, requiring expensive repair.
  • Dry air causes gaps in window & door frames, letting cold outdoor air in; causing you to turn up the heat and increasing your heating bills!
  • Even in newer, tighter homes dry air can feel chillier, again causing you to turn up your thermostat.  For example, 68°F at 40% relative humidity feels just as warm as 74°F at 20% humidity. Setting your thermostat back by as little as three degrees can reduce annual heating bills by as much as 5%.

We recommend contacting your local certified HVAC contractor, as they will be able to make recommendations for your home based on its age, size & construction. Overall, you can begin to understand which model might be best for your home using the following:


First, determine how much humidification your home needs to maintain a 40-60% humidification level, known as Gallons Per Day (GPD):


Use the 3-step formula below or the Humidity Calculator Tool on this site!

Step One:  Calculate the Total Cubic Feet of Home

  • Total Home Square Footage
  • X Average Ceiling Height

Step Two: Calculate the Load (lbs/hr)

  • Total Cubic Feet X Desired Condition Factor (Table Below)
  • X 1.05 For Each Fireplace

Humidity Chart

Step Three: Calculate Gallons Per Day (GPD)

  • Gallons Per Day = Load (lbs/hr) X 2.88

Then, Select Your Unit

Once you have calculated your gallons per day you can then find models that are designed to process that amount of water / accommodate your size of home.


Keep in mind these numbers can vary based on numerous factors, including home construction, the presence and amount of woodwork, if you have a humidor or wine cellar, the presence of fireplaces, the number of floors and more. Work closely with a licensed contractor to determine the best selection for your home.

  • Steam Model 5500 = 15 GPD (115 V) or 28.5 GPD (230V) and up to 5,500 Sq. Ft.

Gallons Per Day ratings for the following models are based on 120° plenum temperature.

  • Evaporative Models 3200A & 3200M = 12 GPD / Up to 3,200 Sq. Ft.
  • Evaporative Models 4200A & 4200M = 17 GPD / Up to 4,200 Sq. Ft.
  • Evaporative Model 1042LH = 17 GPD / Up to 2,800 Sq. Ft.
  • Evaporative Model 1099LHS = 19 GPD / Up to 3,000 Sq. Ft.
  • Fan-Powered Model 1137 = 19 GPD / Up to 3,000 Sq. Ft.
  • Fan Powered Models 1000A & 1000M = 18 GPD / Up to 3,000 Sq. Ft.

You might also install more than one humidifier if your home has more than one HVAC system. Many people install a humidifier with each system to reduce the work load on each and more evenly distribute humidification throughout the home.


A humidifier is a tool that helps you keep your home within the optimal humidity level (40-60% RH). If you keep your humidity levels within that range, you and your home will not suffer the effects of improper humidity levels.

All of the GeneralAire® evaporative humidifiers incorporate a self-flushing action that flushes down the drain many of the mineral deposits left on the Vapor Pad® from the evaporation process. This minimizes the amount of maintenance required.


Research shows that 35% – 55% relative humidity is ideal. Outside this range, your risk of being adversely affected increases.

Too Low:

  • Skin, sinuses, and nasal passages dry, increasing the risk of infection, flu, colds
  • Wood dries, causing cracks and damage to floors, windows, expensive musical instruments and artwork
  • Annoying static shocks increase in frequency

Too High:

  • The dust mite population increases
  • Insect populations attracted to moisture increase
  • The danger of mold and mildew growth increases, causing adverse effects on your health
  • Woodwork may warp
  • Metal may rust

Humidifier FAQ  -  General Filters, Inc.  - Humidity_Chart_30-60_JPEG_GRAY

Humidity Load, also known as Gallons Per Day, represents the amount of water a humidifier must process to properly humidify your home. Humidity load has a direct impact on the life of a humidifier, and a steam cylinder within the steam humidifier. When properly sized to match the square footage of a home, a humidifier will rarely be required to run at full capacity, extending the life of the humidifier.

Also, water levels inside a cylinder remain lower and buildup of minerals on the entire length of the electrodes takes longer. Thus, the life of your cylinder is greatly enhanced. Conversely, extraordinary installations that require constant operation at full capacity reduce cylinder life. The water level in the cylinder stays generally much higher, and the electrodes become completely insulated by mineral buildup more quickly. Installations like this may result in cylinder life of less than 1000 hours.


  • During the winter (when the humidifier is used) the damper should be turned to:  Open, High, or Winter
  • During summer months, turn the dial to:  Closed, Low, or Summer

The water in your steam unit will drain automatically after 120 hours to remove mineral sediment on the bottom of the cylinder.


Prior to the installation of a steam humidifier, one would ideally check water conductivity using a conductivity tester. You can also have your water tested for conductivity by the city or a local contractor.

Steam electrodes inside the steam cylinder require conductivity in order to pass electricity from one electrode to the other. The presence of minerals (or particulates) is measured in microSiemens per centimeter (µs/cm) and a minimum of 125 µs/cm is required for a steam humidifier to deliver steam.

  • 125 to 400 µs/cm indicates low conductivity
  • 401 to 1250 µs/cm indicates regular conductivity

In addition, the following water types are not acceptable:

  • Softened water, as this will lead to foam, electrode corrosion and greatly shortened cylinder life.
  • Water containing disinfectants or corrosion inhibitors, as these are potential irritants
  • Industrial water, boiler water or water from cooling circuits.
  • Any potential chemically or bacteriologically contaminated water.
  • Heated water.
  • Water with silica deposits.

Overall the humidifier must be supplied with the following water characteristics:

  • Pressure between 20psi and 110psi; or 0.1 and 0.8 MPa (1 and 8 bar)
  • Temperature between 33° F and 104° F; or 1° C and 40° C
  • Flow rate minimum of 0.45 L/min or 0.21 gpm
  • Hardness no greater than 40° fH (equal to 400 ppm3 of CaCO),
  • Conductivity from 125 to 1250 µS/cm
  • Absence of organic compounds

When in doubt, contact GeneralAire® for help toll free:  (866) 476-5101 or contact your local contractor.

We recommend replacing your Vapor Pad® at the start of each heating season and depending on your humidity demand, again mid-season. Minerals build up on the vapor pad over time, which in turn:

  • Reduces the pad’s ability to absorb water
  • Prevents the warm air from flowing through the pad (Warm air moving though the water-soaked pad causes the water in the pad to evaporate. It is this process that delivers moisture throughout your home via the home’s duct system).

Steam humidifiers:  In addition to replacing the cylinder, you should check:

  • Plumbing components for sediment buildup.  Remove with combination of vinegar and water (page 41 of installation manual).

Evaporative and fan powered humidifiers:  In addition to replacing the Vapor Pad®, check:

  • Distribution trough, drain pan, drain spout, drain hose, and other areas for sediment buildup.  Remove with combination of vinegar and water.

Click here to visit our video library to view videos demonstrating maintenance on your humidifier.


Model 5500:  (Found on page 40 of the 5500 manual)

  • Completely drain the cylinder by pressing and holding the “drain” button.
  • IMPORTANT:  Turn the humidifier off and disconnect the main power.
  • Remove the cover by unscrewing the center bottom screw. Lift cover off top hinges.
  • Disconnect the electrical connections at the top of the cylinder by simply pulling them off.
  • Loosen the steam hose clamp and remove the steam hose.
  • Flip up the cylinder holding bracket and lift the cylinder out of the unit.
  • Install a new O-ring, if necessary.
  • Install the new cylinder by performing the above instructions in reverse.

Discontinued Elite Models:  These instructions can also be found on page 22 of the Elite Steam Installation / Owner’s Manual.

  1. Completely drain the cylinder by pressing and holding the “drain” button.
  2. IMPORTANT: Turn the humidifier off and disconnect the main power.
  3. Remove the cover.
    DS Models: Remove steam hose from cylinder, flip up the cylinder holding bracket.
    RS Models: Remove 2 bolts of the embedded fan, flip up cylinder holding bracket.
  4. Disconnect the distributor from the cylinder and lift the cylinder out of the unit.
  5. Disconnect the electrical connection from the top of the cylinder, and re-connect to the NEW cylinder.
  6. Install the new cylinder, performing these steps in reverse.

For your safety and the longevity of your steam humidifier, we recommend all installations, maintenance and repairs be performed by a licensed contractor only.


The evaporator pad incorporates a special coating that absorbs water to be humidified by the furnaces’ heated air. While very efficient, it is also fragile. If you subject the pad to cleaning, you usually remove much of the coating.  The pad becomes unable to hold water and produce humidity. The result is reduced output and increased water consumption.

For your humidifier to work as designed, you must replace the evaporator pad each heating season.


Our website contains a library of videos demonstrating how to change the Vapor Pad® on each of our units. Click here to be taken to our video library. Find your model and learn how to replace the vapor pad.


The 1042 is designed for homes up to 2,800 sq. feet, but if you have two furnace systems for your size home, you can place a 1042 on each system.

We also recommend that you contact a local contractor to discuss your options.


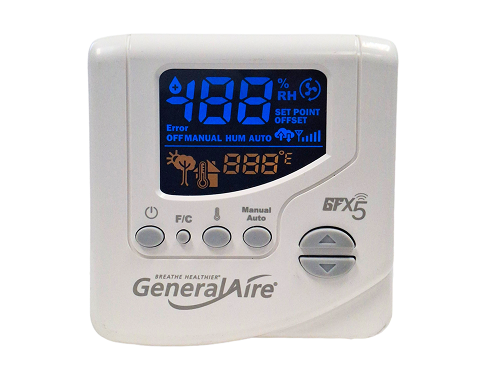
The GFX3 offset mode is used to match the readings of your new GFX3 to other controls in the home (humidity level, outdoor temperature and indoor temperature.

Example: Your GFX3 reads the inside humidity as 25%, but another humidistat inside the home reads 29%.  Use the offset feature in the GFX3 to match the other reader.  You now have consistency throughout your home.


Perform maintenance as recommended; at minimum annually.

This often occurs after a steam cylinder replacement of our Elite Steam Models. We have found that sometimes, when a customer lifts the old cylinder out of the unit, the red O-ring (also called a gasket) and plastic bushing may lift out as well (see photo below).

DS25 steam humidifier Steam Bushing and O Ring
Red O Ring gasket

Customers may not realize these pieces fell out, or they didn’t realize they needed them, or they threw the pieces away because they thought the they were automatically part of the new cylinder.

DS25 steam humidifier Bushing and O-Ring Location

DO NOT throw the plastic bushing away. Together, the plastic bushing and red O-ring assure a tight seal for the new cylinder-to-pump connection, so be sure to carefully replace these before installing the new cylinder. (A new red O-ring will accompany your replacement cylinder.) If you have already lost them or discarded them, call our offices at (866) 476-5101 to order replacement pieces. Do not run your humidifier until these pieces are in place.

Yes, each fall, at the same time you replace your vapor pad.  Do the following:

  • Remove power to the pump.
  • Add one or two drops of motor oil to the two ports (small gold tubes of image below).

That’s it!

recirculating pump


This is a reasonable question since electrodes inside the steam cylinder require the presence of minerals to pass electricity from one electrode to the other and boil the water (called conductivity).  One might conclude that to have the entire cylinder full of water would result in greater conductivity and higher output.

Maximum output, however, does not require a full cylinder. It requires clean electrodes.

GeneralAire® cylinders fill water only a portion at a time. As minerals coat the electrodes and cylinder walls, more water is introduced to find clean electrode surfaces for humidity production.  This gradual fill of water helps the cylinder to last longer.  Over time the entire cylinder inside becomes coated and must be replaced.

  • On your control panel (via the APP or the unit’s touch screen), turn your dehumidifier on by simply selecting “On”.

How to program a DH75 or DH100 Wi-Fi dehumidifier

  • Once the unit has finished sampling the air, select “Settings”.

How to program a DH75 or DH100 Wi-Fi dehumidifier

How to program a DH75 or DH100 Wi-Fi dehumidifier

  • UNITS: Select “Units” to choose between Fahrenheit or Celsius.

How to program a DH75 or DH100 Wi-Fi dehumidifier

  • REMOTE HUMIDISTAT:  If you install a remote dehumidistat, select “D1/D2 Logic” to choose “Yes” or “No”.
  • SETPOINT:  To change the humidity setpoint, select “Humidity Setpoint”.  Press “Up” or “Down” to change to your desired setting (following screen).

How to program a DH75 or DH100 Wi-Fi dehumidifier

  • HUMIDITY OFFSET:  Select “Humidity Offset”, range is +/-8.

How to program a DH75 or DH100 Wi-Fi dehumidifier

  • FREEZSTAT LOCKOUT OFF AND ON SETPOINT:  Your control allows you to adjust the freeze stat temperature cut-off (28°-34°F / -2°- +1°C) and turn-on (48°-52°F / 9°-11°C).  The adjustability of the freeze stat allows the dehumidifier to run efficiently in low temperature conditions.
    • Set OFF with ranges from 28°F to 34°F / -2°C to +1°C; and ON with ranges from 48°F to 52°F / 9°C to 11°C.
  • DEWPOINT LOCKOUT SETPOINT:  Adjustable from 36-42°F.
    In addition to the low ambient temperature 50°F (incoming air) on the previous version of firmware, the added low dew point temperature lockout will further ensure the dehumidifier runs more efficiently.

    • Simply select “Dewpoint Lockout Setpoint” to set; with range from 36°F / 2°C to 42°F / 6°C.
  • FAN IDLE:  In low outdoor temperature settings, this can help make the dehumidifier run more efficiently by turning the drain cycle feature off.


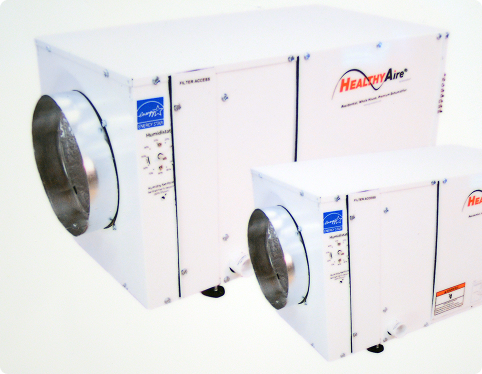
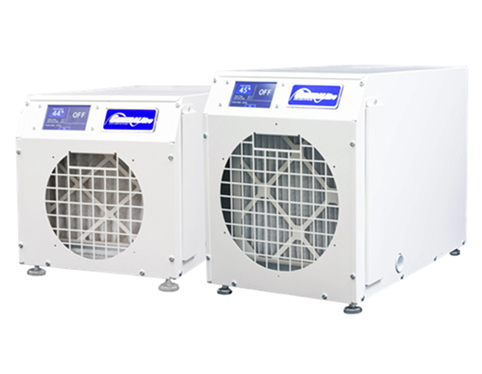
The DH75 & DH100 have been specially designed for small spaces such as basements, crawl spaces, closets, garages, and attics of homes, condos or apartments. Each come with adjustable feet that allow for level installations even if the floor is not level. You can even suspended them from the ceiling (with optional accessories).


Download the GeneralAire Wi-Fi APP to your smart device from either your APP Store or Google Play.

Click here for a step-by-step guide on solving connectivity issues.

The most recent APP includes an update so that if it becomes disconnected, the APP will continue trying to reconnect until it is restored.


  1. Go to your control panel, select “Settings”.
  2. On the next screen, select “Wi-Fi”.
  3. On the next screen, select “Scan”
  4. Select the service you wish to use, ensuring it is a 2.4 GHz connection.
  5. Enter the Wi-Fi password. (Passwords are case sensitive.)
  6. On your smart device, open the GaneralAire Wi-Fi APP.
  7. Enter the dehumidifier’s 6-digit PIN, found in “Settings”, “Mobile App Pin”.

Click Here to view a video demonstration.


  1. On your control panel, go to settings.
  2. Select “Fan”.
  3. Select “Cycling”.
  4. Select the amount of time, per hour, you would like the fan to run: 10, 20, or 30 minutes.

How to program a DH75 or DH100 Wi-Fi dehumidifier

Our dehumidifiers are not designed to work in pool applications due to the corrosive nature of chemicals that are used in swimming pools; chemicals that can become airborne and corrode components within. You may contact Desert-Aire at (262) 946-7400, as they may have models designed for pool installation.


If you are a home owner, we recommend you purchase through a qualified contractor to install your dehumidifier professionally.

Click here to find a contractor.  If one is not listed for your zip code, click here to find a wholesaler that may be able to recommend one for you.


Yes.  Please refer to the wiring instructions that accompany your Nest controller.

Yes.  You must replace the MERV 11 pleated filter a minimum of once a year to ensure your unit is running smoothly. Depending on environmental conditions, you may need to replace it more often.  Do not run your dehumidifier without a filter in place.


(Click on the filter description to purchase online.)

DH75:  GFI #7143  Part 300-1090
DH100:  GFI #7144 Part 600-1090
DH70:  GFI #7133 Part 100-1090
DH95: GFI #7134 Part 200-1090


WARNING:  Shut off the unit and unplug the dehumidifier power cord before performing this activity.

  1. Using a Phillips-head screwdriver, locate and unscrew the screw at the top of the filter door (nearest the control panel) by a quarter turn.  Remove the door and the filter.
  2. Using the T15 Torx wrench (included with the unit), locate and unscrew the four screws holding the display board in place.
  3. Once the board is loose, unplug the two wire inserts.  Set aside the old display board.
  4. Insert the new display board through the open filter door, and place behind the display board opening, ensuring the arrows are pointing up.
  5. Reconnect the two wire plugs to the new board.
  6. Using the Torx wrench, screw the four screws back into the new board, holding the back of the board until all four screws are fully seated.
  7. Replace the filter and the door.

For these instructions with photos, click here.


Click here to learn more about your AFCI Cord.

You may purchase your replacement filter through your local contractor or from our website.  Click here to shop online.


Warm air is brought into the unit and is passed over refrigerated coils, causing condensation that goes down the drain and gradually decreasing airborne moisture.  Once the humidity set point is reached, the dehumidifier shuts off.


Reducing moisture throughout your home reduces or eliminates:

  • Mold and mildew growth
  • Allergy and asthma triggers
  • Musty odors
  • Excess humidity throughout the entire home; not just one room
  • Frequent maintenance of a room dehumidifier
  • Energy costs associated with an air conditioner
  • That moist, clammy feeling that comes with excess moisture
  • Damp fabrics of bedding and clothing
  • Pests attracted to moisture, such as dust mites, spiders, and silverfish

No.  The MERV 11 filter is essential to provide protection of the internal components.  Running a dehumidifier without a filter voids the warranty.


The American Society of Heating, Refrigerating, and Air-Conditioning Engineers (ASHRAE) recommends keeping the relative humidity in a home between 40-60%. Outside that range your risk of being adversely affected increases. In addition, the Journal of Allergy and Clinical Immunology recommends keeping indoor relative humidity below 51% in order to deter dust mites and boost overall comfort of the home.


DH100: Up to 100 pints per day
DH75: Up to 75 pints per day
DH70: Up to 70 pints per day
DH95:  Up to 95 pints per day


  1. You may live in a humid climate, such as Florida or Louisiana.
  2. It may be the summer months, where humidity tends to run higher.
  3. You can reduce the stress on your air conditioner by reducing the moisture with a dehumidifier and save on energy bills.
  4. Your home feels cold, clammy. Bedding and clothing never seem fully dry.
  5. If you have experienced water damage, a whole house dehumidifier can become part of a comprehensive water-damage cleanup effort.
  6. If you have a crawl space that has been encapsulated, a dehumidifier can help limit excess moisture buildup (thereby also inhibiting mold and mildew growth) from the space.

First, let’s learn a little about dust mites.

  • Genus: Dermatophagoides; Mites are Arachnids (members of the spider family).
  • Species: Dermatophagoides Farinae (DF) – commonly found in North America.
  • Size: About 250 to 300 microns (µm) in length.
  • Adult Mite Lifespan: Up to 3 months; (3 larval stages).
  • Reproduction: Female mites lay about 25 to 50 eggs.
  • Habitat: Mites live in carpet, fabric upholstery, and mattresses.
  • Diet: Human skin scale, animal dander and trace nutrients. Mites need to absorb humidity, they cannot drink water.
  • Allergen: Dust mite fecal material.
  • Body Color: Translucent.
  • Average Threshold before Developing Allergies: 100 mites/gm of dust.
  • Allergic Reactions: asthma, rhinitis.
  • Living Conditions: Temp. Range: approx. 59°F to 95° F (15°C to 35°C).
  • Relative Humidity Range: approx. 55% to 85%.
  • Number of People in the US Suffering from Allergies: 50 million and rising.

Dust mites are the most common allergen-producing organism found in homes. They live in carpets, upholstered furniture, bed pillows and mattresses. If the relative humidity in your home is below 50%, dust mites desiccate. If the relative humidity rises above 50% they strive and reproduce, their appetite increases, and therefore their fecal matter (the source of the dominant dust mite allergen) increases. Ninety percent of the population that experiences any allergy-based symptoms reacts to dust mite allergen.

Vacuum often. Washing bedding in hot water has been shown to reduce dust mites. Since stuffed toys are a breeding ground for dust mites, choose toys that can be washed and thoroughly dried, and keep them off beds to reduce the exposure received during long hours of sleep. It may also help to put stuffed toys in the freezer for a day or so.

The best solution is to control the relative humidity in your home. Dust mites can not survive in areas where the humidity level is below 50%. Have the relative humidity checked in your home during summer and fall. Relative humidity can be controlled by the use of a whole-house dehumidifier installed adjacent to the air conditioner. By controlling the humidity, you completely remedy the dust mite problem.


If your control is version 1, 2, or 3, you will find it listed on the backside of the display board.  Versions 4 and after are displayed on the top left of your control screen when the unit is powered on.


Our dehumidifiers offer 5-Year Warranty.

Click here to complete our new product warranty registration online.


We do not endorse any individual contractor, but you may search for a local contractor by clicking here, or contact a local wholesaler to request a referral by clicking here.  You might also inquire through your neighborhood network for a referral.


Full History

1937
general-filters-timeline-1937

Founded in Detroit

General is founded by Art and Grace Redner in Detroit, Michigan, marking the beginning of a family legacy.
1939
general-filters-timeline-1939

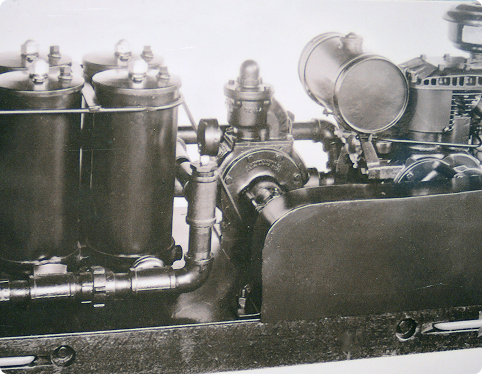
Supporting the War Effort

General begins manufacturing filters for bomber ground support equipment during World War II.
1943

Expanding Operations

General moves to a new Detroit location at Schoolcraft and Grand River.
1946
general-filters-timeline-1946

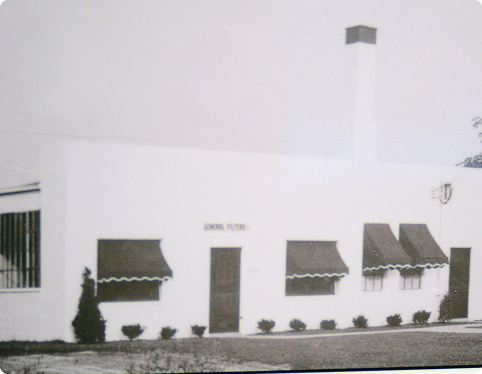
New Detroit Home

General relocates to 12890 Westwood Avenue in Detroit, strengthening operations in Michigan.
1948

Growth into Canada

Canadian General Filters Ltd. is founded, extending reach to North America.
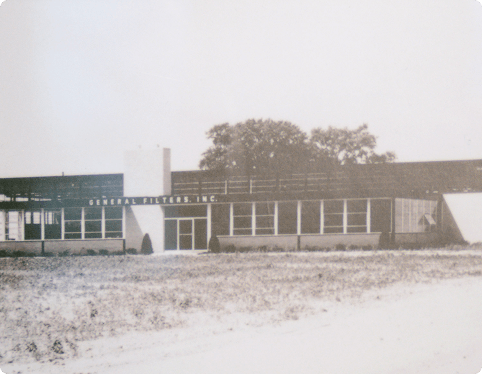
1953

Relocation to Novi, Michigan

General Filters moved to its current location in Novi, Michigan, marking a major milestone in its evolution as a manufacturing company.
1958
general-filters-timeline-1958

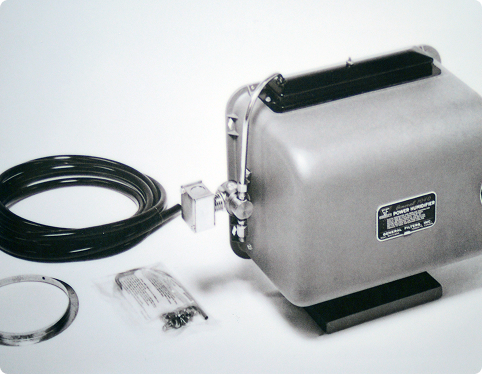
Model 250 Humidifier Introduced

The Model 250 set a new standard for whole-home comfort, helping families maintain healthy humidity and improve indoor air quality.
1962
general-filters-timeline-1962

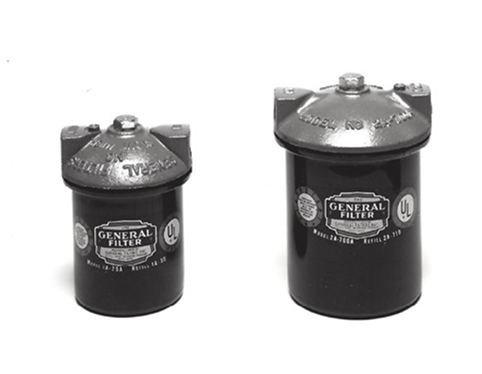
New Oil Filters Introduced

1969
general-filters-timeline-1969

Model 1040 Humidifier Debuts

General Filters introduced the Model 1040 humidifier, a breakthrough product that helped define whole-house humidification.
1983
general-filters-timeline-1983

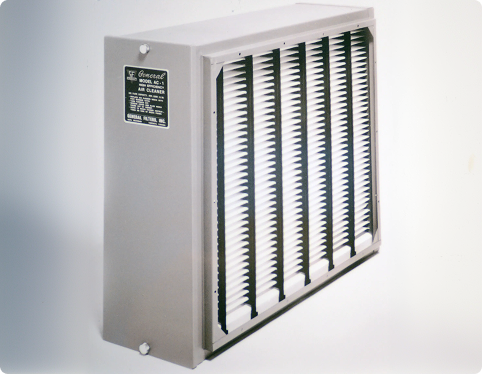
AC 1 Air Cleaner Introduced

General Filters introduced the Model 1040 humidifier, a breakthrough product that helped define whole-house humidification.
1997
general-filters-timeline-1997

Steam Humidifiers Introduced

The GeneralAire Model 5500 provides clean, sterile moisture with a furnace-independent design, disposable cylinder, digital diagnostics, and included humidistat.
2006
general-filters-timeline-2006

Gar-Ber® Acquisition

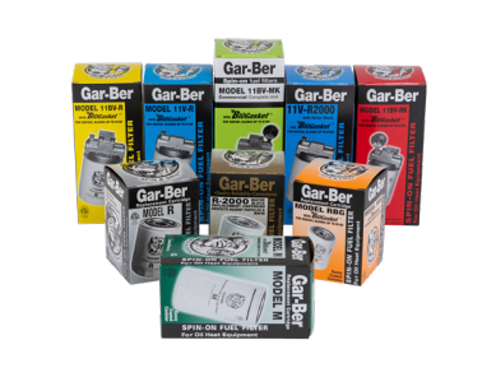
Gar-Ber Spin-On residential fuel oil filters were acquired by General Filters and continue to be manufactured to the same trusted specifications.
2006
general-filters-timeline-2006-elite

Elite Humidifiers Introduced

2009
general-filters-timeline-2009

Advanced TERSus Technology Introduced

2014
general-filters-timeline-2014

Dehumidification Expansion

The acquisition of Air & Energy Products expanded the company’s whole-house dehumidifier offerings.
2018
general-filters-timeline-2018

Advanced Air Solutions

Wi-Fi-enabled dehumidifiers were introduced under the GeneralAire® brand, and Second Wind™ Air Purifiers were acquired to expand UV air purification solutions.
2018
general-filters-timeline-2018-touch-screen

Touch Screen & Wi-Fi Control

GeneralAire DH75 and DH100 whole-house dehumidifiers (75-100 pints/day) feature LCD touch screens and Wi-Fi capability via the GeneralAire App for remote monitoring.
2019
general-filters-timeline-2019

Touch Screen & Wi-Fi Control

GeneralAire DH75 and DH100 whole-house dehumidifiers (75-100 pints/day) feature LCD touch screens and Wi-Fi capability via the GeneralAire App for remote monitoring.
2020
general-filters-timeline-2020

Model 5500 Steam Humidifier Introduced

2020
general-filters-timeline-2020-brand-refresh

Brand Logo Refresh

New GeneralAire®, General Filters, and Canadian General Filters Brand Logos Introduced
2020
general-filters-timeline-2020-vapor-pad

Model 3200 Evaporative Humidifier Introduced

2020
general-filters-timeline-2020-model-4200

Model 4200 Evaporative Humidifier Introduced

2020
general-filters-timeline-2021

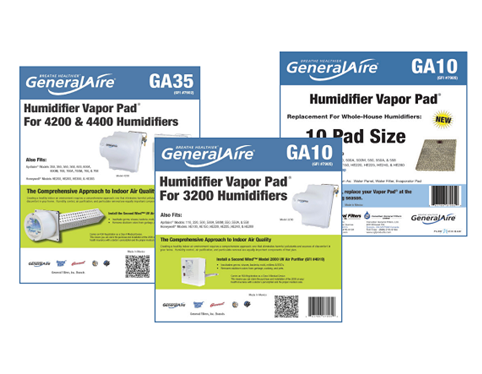
Industry Standard Vapor Pad Lineup Introduced

2021
general-filters-timeline-2021-bio-gasket

BioGaskets Included in All Gar-Ber Oil Products

2021
general-filters-timeline-2021-merv

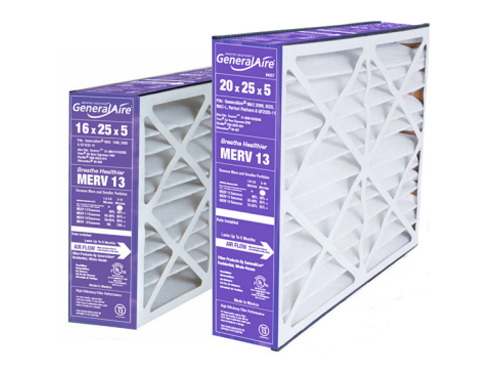
Introduced MERV 13 Filters

2023
general-filters-timeline-2023

Model 4400A Fan-Assist Evaporative Humidifier Introduced